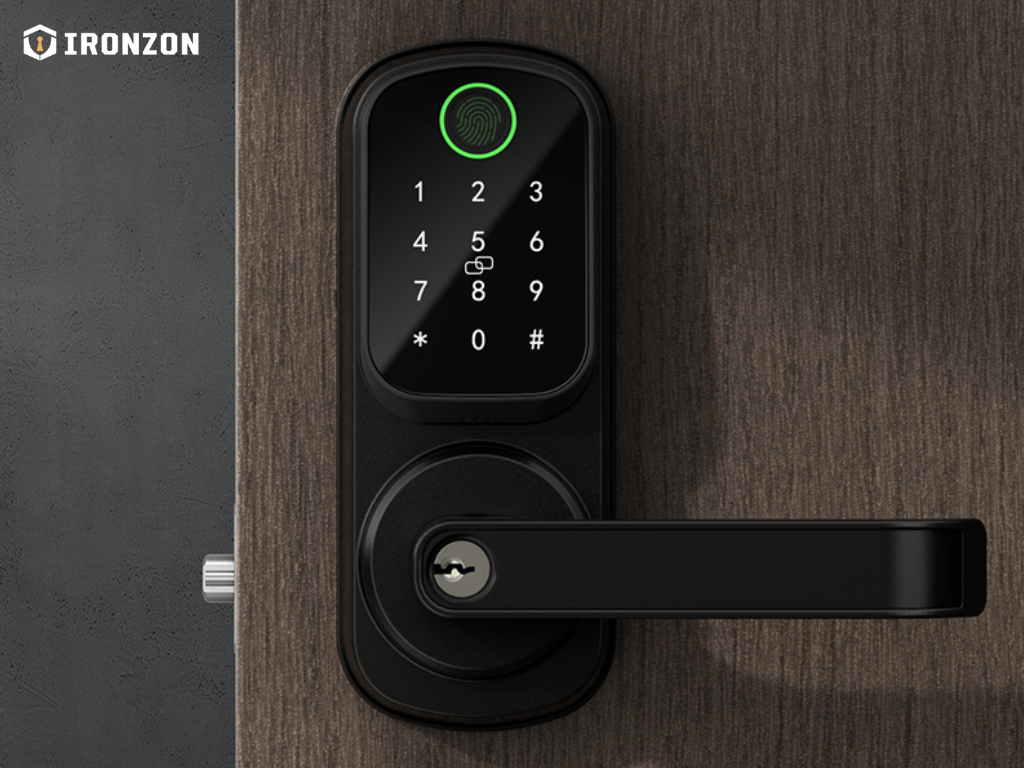
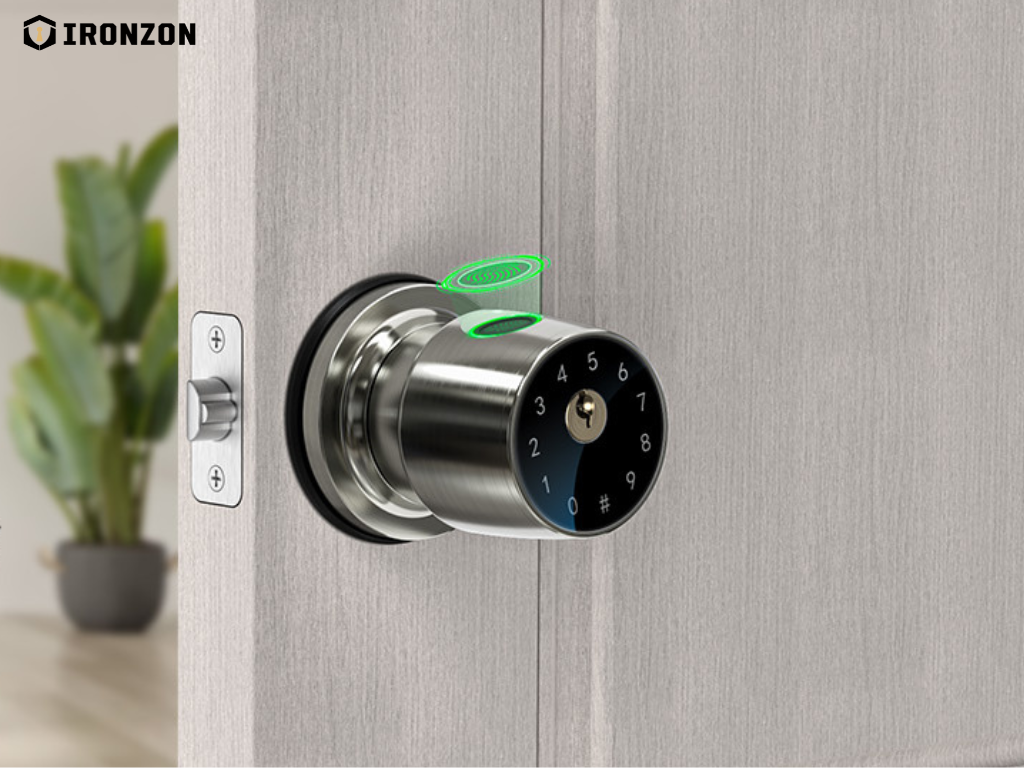
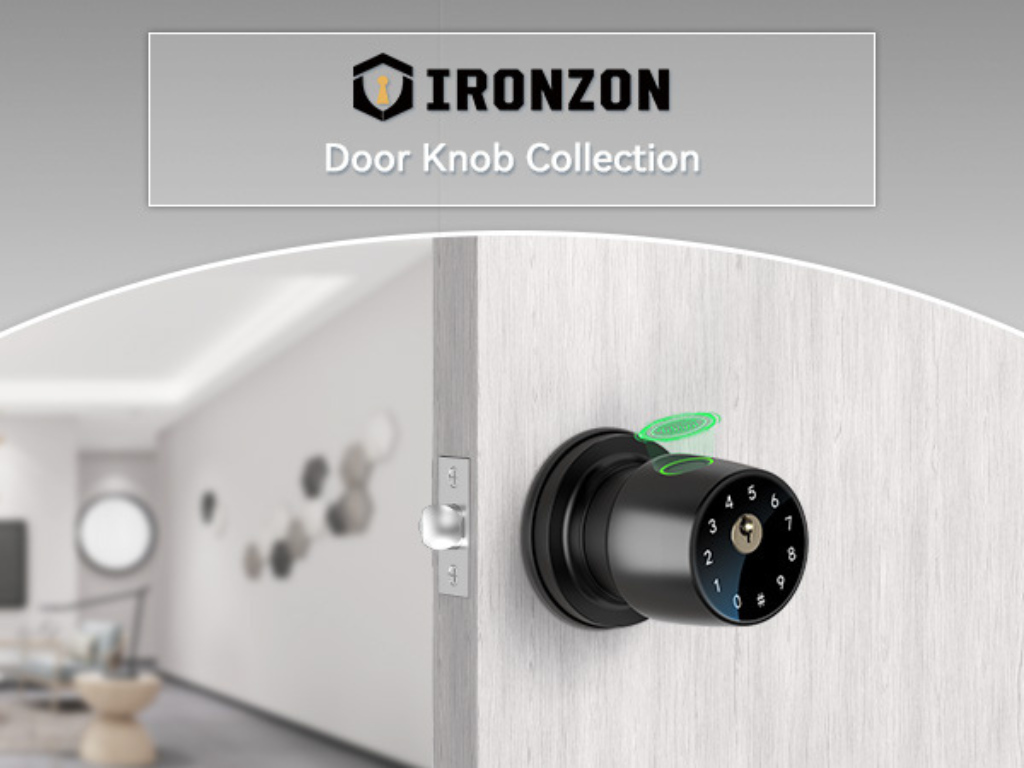
Installing a smart door lock can seem intimidating at first, but with the right guidance, it’s a straightforward process that can be completed in just a few simple steps. At IRONZON, we believe in making home security more accessible, so we’ve designed our smart locks to be user-friendly, with a DIY installation process that doesn’t require a professional locksmith.
Whether you’ve purchased an IRONZON 490T, 191Y, or any of our other high-quality fingerprint door locks, this step-by-step guide will help you get your new smart lock installed and ready to use in no time. Let’s dive into the details and unlock a more secure home!
Why Choose IRONZON Smart Door Locks?
Before we get started on the installation process, let’s quickly explore why IRONZON’s smart door locks are the ideal choice for your home:
Multiple Unlocking Methods: IRONZON smart locks offer multiple unlocking methods, including fingerprint recognition, keypad access, traditional key, and smart app control, providing flexibility for all family members.
Advanced Security Features: Our smart locks are designed with cutting-edge biometric technology and built-in encryption to ensure your home stays safe from unauthorized access.
Durability and Aesthetics: Made from high-quality materials like zinc alloy, IRONZON locks are built to last and seamlessly blend with modern home decor.
Easy Installation: With our easy-to-follow instructions, installing your IRONZON lock is simple and can be done without professional help.
Tools You’ll Need for Installation
Before starting the installation, make sure you have these tools on hand:
Screwdriver (Phillips or flat-head)
Drill (if your door requires new holes)
Installation template (provided with your lock)
Step-by-Step Installation Guide
Step 1: Remove the Old Lock (If Applicable)
If replacing an old lock, start by removing it with a screwdriver. Clear the area and ensure your door is ready for the new lock.
Step 2: Measure and Drill
Use the provided template to mark the positioning for the lock and latch. If your door doesn’t have pre-drilled holes, carefully drill according to the measurements in the template.
Step 3: Install the Lock Mechanism
Place the lock mechanism inside the drilled hole, ensuring it fits securely. Attach the latch and tighten the screws, but avoid overtightening.
Step 4: Attach the Exterior and Interior Lock Components
Align the exterior and interior lock components, connect them through the door, and secure them with the included screws. Ensure everything lines up correctly for a snug fit.
Step 5: Connect the Lock’s Circuit Board Ports
Important: Once the lock hardware is in place, make sure to connect the lock’s circuit board ports. This step is essential to ensure power flows to the lock for its electronic functions. Skipping this step will render the lock non-operational.
Step 6: Install the Batteries
Insert the batteries into the compartment, paying close attention to the positive (+) and negative (-) terminals. Incorrect placement can prevent the lock from powering on.
Step 7: Test and Program Your Lock
After installation, test all the lock’s features:
Try unlocking with a fingerprint, keypad, and traditional key.
Set up passwords or register fingerprints following the specific instructions for your lock model.
For guidance, refer to the Installation Tutorial Videos page on the IRONZON website or consult the user manual provided with your lock.
Step 8: Final Check and Enjoy!
Finally, double-check all components and settings. Make sure the door opens and closes smoothly, and the locking mechanism is working properly. Once everything is set, you’re all done!
Key Considerations for Proper Installation
To ensure your IRONZON smart lock functions perfectly, keep these critical points in mind:
Battery Installation: Always align the batteries correctly with their positive (+) and negative (-) terminals. Incorrect installation can prevent the lock from powering on.
Model-Specific Programming: Each IRONZON lock has unique methods for setting up passwords or fingerprints. Refer to the Installation Tutorial Videos on our website or consult the included manual for instructions tailored to your specific model.
Connect the Circuit Board Ports: Don’t forget to connect the lock’s circuit board ports during installation. Without this connection, your lock will not receive power, making it non-functional.
Why Choose DIY Installation?
Installing your IRONZON lock yourself offers numerous benefits:
Save Money: Skip professional fees by handling the installation yourself.
Convenience: Install at your own pace with no need for appointments.
Confidence in Security: Take pride in personally securing your home with a trusted lock.
Conclusion
An IRONZON smart door lock is more than just a security device—it’s a step toward a smarter, more convenient home. By following these installation tips and paying close attention to key details, you’ll enjoy a seamless setup and reliable performance.
Ready to enhance your home security with IRONZON? Browse our selection of smart locks today and discover how easy it is to unlock the future of safety and convenience!


